Install XFCE 4.10 In Xubuntu 12.04 Precise Pangolin Via PPA

10:12 PM

xfce 4.10 xubuntu 12.04

XFCE 4.10 was released about two weeks ago, too late to be included in Xubuntu 12.04 LTS Precise Pangolin. But you can install the latest XFCE 4.10 in Xubuntu 12.04 using a PPA.

XFCE 4.10 comes with many improvements which include a new application finder, a new vertical display mode for the panel: "deskbar", multiple rows support for the panel, the window manager supports tiling windows when dragging them to the screen edges, thumbnail rendering support for Xfdesktop, the mouse and touchpad dialog is capable of handling basic Synaptics and Wacom properties in the GUI, and more. For more info, check out the XFCE 4.10 tour.


Install / upgrade to XFCE 4.10 in Xubuntu 12.04 via PPA


xfce 4.10

Lionel Le Folgoc, a Xubuntu contributor, has set up a PPA to make it easy to install the latest XFCE 4.10 in Xubuntu 12.04 Precise Pangolin. To add the PPA and upgrade to XFCE 4.10, use the commands below:
sudo add-apt-repository ppa:xubuntu-dev/xfce-4.10
sudo apt-get update
sudo apt-get dist-upgrade

If after running "dist-upgrade", you get 3 held back packages which can't be upgraded, open Synaptic Package Manager (it's installed by default in Xubuntu), click the "Mark all upgrades" button, then "Apply". Synaptic will ask to remove one package and install a new one - select yes and you're done.

To install XFCE 4.10 in Xubuntu 12.04 (if you're using a different desktop environment such as GNOME for example), instead of the last command above, use the following:
sudo apt-get install xubuntu-desktop

Note: in XFCE 4.10, the window buttons plugin no longer expands, so the notification area / indicators will show up next to the window buttons plugin, leaving an empty area to the right of the panel. You can get the old behaviour back by adding a separator plugin to the panel, then right clicking it and enabling the "Expand" option.

0 comments

» read more....

MATE Desktop 1.2 Released, Install It In Ubuntu [GNOME 2 Fork]

5:26 PM

mate desktop environment

MATE is a GNOME 2 (which is now unmaintained) fork that lets you use the old GNOME 2 interface. It uses renamed packages and applications so it doesn't conflict with GNOME 3 and you can have both MATE and GNOME3 installed in the same time, something which isn't possible with the vanilla GNOME 2.

MATE 1.2 has been released recently, and its developers say this is a huge step forward and the latest version is more stable than ever.

Changes in MATE 1.2:
  • an undo/redo feature has been added to Caja, the default file manager (Nautilus 2 fork)
  • There are some new applications / packages: Mozo (Alacarte fork), python-caja, caja-gksu (like nautilus-gksu, but for Caja) and Caja Image Converter (similar to Nautilus Image Converter)
  • mate-open is a lot faster
  • Mate settings daemon now supports the PulseAudio and GStreamer backends
  • New MATE icon and renamed MATE themes to avoid GNOME conflicts
  • many bug fixes (most importantly, all GNOME conflicts have been fixed


Install MATE Desktop Environment in Ubuntu 12.04 or 11.10


Before installing MATE in Ubuntu, please note that MATE is a pure GNOME 2 fork, so it doesn't support Ubuntu appindicators, there's no Ubuntu Sound or Messaging menu, etc.

MATE has its own Ubuntu repository, available for Ubuntu 11.10 Oneiric Ocelot and 12.04 Precise Pangolin. To add the repository and install MATE Desktop in Ubuntu, use the following commands:
sudo add-apt-repository "deb http://packages.mate-desktop.org/repo/ubuntu $(lsb_release -cs) main"
sudo apt-get update
sudo apt-get install mate-archive-keyring
sudo apt-get update
sudo apt-get install mate-core

The last command above installs only the packages required to run MATE. To install some extra packages like Mozo (Alacarte fork), MATE Netspeed, MATE Sensors Applet, MATE System Tools and others, use the following command:
sudo apt-get install mate-desktop-environment

In my test, MATE Desktop worked ok under Ubuntu 11.10, but there were some issues with MATE Settings Daemon in Ubuntu 12.04: the GTK theme wasn't applied correctly. I was able to fix this by adding "MATE" to "OnlyShowIn" for the /etc/xdg/autostart/gnome-settings-daemon.desktop file.


How to remove MATE from Ubuntu


If you want to remove MATE Desktop, you can use the following command:
sudo apt-get remove atril atril-common caja caja-common engrampa engrampa-common ffmpegthumbnailer-caja libcaja-extension libmarco libmate libmate-common libmatecanvas libmatecomponent libmatecomponentui libmateconf libmatecorba libmatedesktop libmatekbd libmatekeyring libmatemenu libmatenotify libmatepanelapplet libmatepolkit libmateui libmatevfs libmateweather libmateweather-common marco marco-common mate-applets mate-applets-common mate-backgrounds mate-conf mate-conf-common mate-control-center mate-corba mate-core mate-desktop mate-desktop-common mate-dialogs mate-icon-theme mate-keyring mate-media mate-menus mate-mime-data mate-panel mate-panel-common mate-polkit mate-power-manager mate-power-manager-common mate-screensaver mate-session-manager mate-settings-daemon mate-settings-daemon-common mate-settings-daemon-gstreamer mate-system-monitor mate-terminal mate-terminal-common mate-text-editor mate-themes mate-vfs mate-vfs-common mate-window-manager python-mate

If you've install the extra MATE packages (mate-desktop-environment), use the following command to remove them:
sudo apt-get remove libmatesensorsappletplugin mate-calc mate-desktop-environment mate-netspeed mate-sensors-applet mate-system-tools mate-utils mozo python-mate-menu system-tools-backends

For more information about MATE, installation instructions for other Linux distributions, etc., visit the official MATE website.

0 comments

» read more....

Cinnamon Available To Install Via PPA For Ubuntu, More News

7:55 PM

cinnamon desktop settings

Cinnamon, the GNOME2-like GNOME Shell fork is now available in a PPA so Ubuntu users can easily get updates without having to manually download the .deb files.

Besides Cinnamon itself, the PPA also provides Cinnamon Settings, a new GUI tool that lets you configure Cinnamon: enable/disable panel autohide, tweak the date on the panel, enable/disable overview icon or hot corner, enable/disable themes and extensions.

Using the latest Cinnamon via GIT, you can also move the panel to the top (this feature should be available in the next Cinnamon release) and tweak some other settings.


Here's a video I've recoded running the latest Cinnamon from GIT (so there are some extra features that aren't available in the PPA yet):


Install Cinnamon in Ubuntu via PPA


Update: the PPA in this post has been updated with a new one which lets you install the latest Cinnamon (1.3.1 at the time of this update). See this: Alternative Cinnamon PPA For Ubuntu 12.04 and 11.10 Users.

To install Cinnamon Desktop and Cinnamon Settings under Ubuntu 11.10 Oneiric Ocelot via PPA, use the commands below:
sudo add-apt-repository ppa:gwendal-lebihan-dev/cinnamon-stable
sudo apt-get update
sudo apt-get install cinnamon

Once installed, log out and select "Cinnamon" from the login screen session list.


There's also a new Cinnamon Themes repository available on GitHub, but package isn't yet available in the PPA. Until it's uploaded, you can use the commands below to install the 8 beautiful themes you've seen in our video:
sudo apt-get install git-core
cd && git clone https://github.com/linuxmint/cinnamon-themes.git
cd cinnamon-themes
./test


And speaking of Cinnamon, the latest GIT version uses Muffin, a new Mutter fork created by the same Clement Lefebvre, as its window manager. For now, there aren't too many differences between Mutter and Muffin, but it will be interesting to see where this goes.

0 comments

» read more....

Install Cinnamon On Fedora Or openSUSE

11:10 PM

Cinnamon desktop fedora

Cinnamon, the GNOME Shell fork created for Linux Mint by Clement Lefebvre, is available for openSUSE and Fedora.

For Fedora 16, Cinnamon can be installed through a repository created by a Fedora user - add the repository and install Cinnamon, use the commands below:

su -
curl http://repos.fedorapeople.org/repos/leigh123linux/cinnamon/fedora-cinnamon.repo -o /etc/yum.repos.d/fedora-cinnamon.repo
yum install cinnamon

Then log out and select Cinnamon in the GDM login screen:


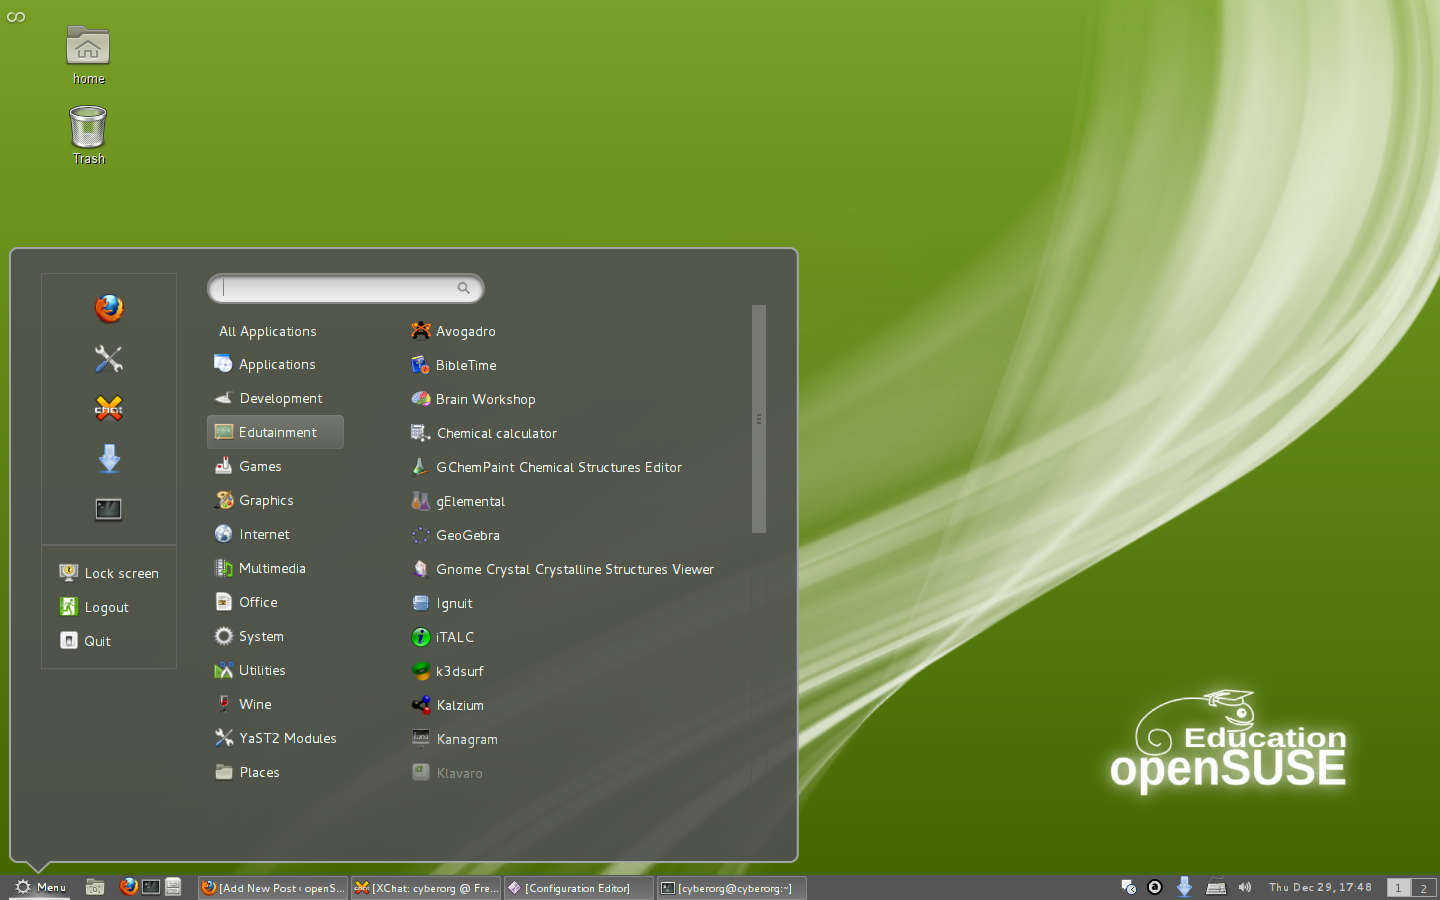
Cinnamon desktop opensuse

For openSUSE 12.1, you can download Cinnamon from HERE - this will also install the official GNOME Shell extensions, tweaked to work with Cinnamon.

Once installed, you need to use dconf-editor if you want to enable the extensions: navigate to org > cinnamon > enabled extensions and add the extensions you want to enable. Example:
['system-monitor@paradoxxx.zero.gmail.com', 'apps-menu@gnome-shell-extensions.gnome.org', 'dock@gnome-shell-extensions.gnome.org', 'drive-menu@gnome-shell-extensions.gnome.org', 'places-menu@gnome-shell-extensions.gnome.org', 'windowsNavigator@gnome-shell-extensions.gnome.org', 'xrandr-indicator@gnome-shell-extensions.gnome.org']


Please note that I've only tested Cinnamon on Fedora 16.


via ossblog.it, linuxbsdos.com, lizards.opensuse.org (+openSUSE image credits)

0 comments

» read more....

Cinnamon 1.1.3 Released With Panel Autohide, More

11:22 PM


Cinnamon is a GNOME Shell fork created by Clement Lefebvre, the Linux Mint founder, which tries to offer a layout similar to GNOME 2: a bottom panel with launchers, GNOME2-like systray and notifications and more.


Cinnamon 1.1.3 has been released today, bringing some new features as well as many improvements and bug fixes:
  • panel autohide
  • the Overview Hot Corner or icon can be disabled
  • menu improvements, including: right click the icons in the menu to "Add to panel", "Add to desktop", "Add/Remove to/from favorites" or configuring the "Menu" text
  • Panel Launchers now have tooltips
  • themes in ~/.themes are now detected
  • thumbnails from theme.json files in Gnome Shell themes are now used
  • windows in overview now feature icons for easier recognition
For a complete list of changes, see the release announcement.

To enable/disable bottom panel autohide, change the menu text and so on, you'll need to use dconf-editor. Install it using the following command:
sudo apt-get install dconf-tools

Then launch dconf-editor and navigate to org > cinnamon. Here you'll find all the available options.


Install Cinnamon


Installing Cinnamon won't break GNOME Shell so the two can be installed and used side-by-side.

For Ubuntu 11.10, you can download Cinnamon deb files via its GitHub page - install both "cinnamon" as well as "cinnamon-session".

For Linux Mint 12, use the following command:
sudo apt-get install cinnamon-session

Once installed, log out and select "Cinnamon" in the login screen.

For other Linux distributions such as Arch Linux, Fedora, OpenSuse, etc., see the Cinnamon download page.

0 comments

» read more....

Cinnamon: GNOME Shell Fork With A GNOME2-Like Layout

2:11 AM


Clement Lefebvre, the Linux Mint founder, has started working on a GNOME Shell fork called Cinnamon, which tries to offer a layout similar to GNOME 2, with emphasis on "making users feel at home and providing them with an easy to use and comfortable desktop experience":

Cinnamon is a Linux desktop which provides advanced innovative features and a traditional user experience. The desktop layout is similar to Gnome 2. The underlying technology is forked from Gnome Shell.


Why Fork GNOME Shell?


Why fork GNOME Shell? According to Clement Lefebvre (who talked about this on IRC @ #mate), the reason is that even though extensions are cool, you can only do a small amount of stuff with them and you can't control interactions between extensions, their loading order and so on.

Among the features that we'll probably see in Cinnamon are GNOME2-like notifications and systray icons, option to change the panel position and other panel options like autohide, etc. Some of these features are already available through Mint GNOME Shell Extensions (MGSE), but their functionality is pretty limited.


Cinnamon code already available


The screenshot you see in the beginning of the post is Cinnamon, not the MGSE Bottompanel/Windowlist/Menu extensions. 

At a first look, Cinnamon looks and behaves a lot like GNOME Shell with Mint GNOME Shell Extensions, except the MGSE features are built-in (the panel settings for instance, hasn't been implemented yet).

However, if you look more closely, you'll notice that there's no message tray - it has been replaced with a classic "systray" at the bottom and the notifications look like in GNOME 2.


Here's another screenshot in which you can see the Activities Overview:


Yes, there's no "Applications" tab so apparently the Activities Overview only has the workspace functionality. At least for now.


Test Cinnamon


The Cinnamon code can be downloaded via Github. Remember, Cinnamon is in it's early development stages so expect to find bugs and missing features!

Update:
- Ubuntu PPA now available: Cinnamon Available To Install Via PPA For Ubuntu, More News
- Repository for Fedora or OpenSUSE: Install Cinnamon On Fedora Or openSUSE


Many thanks to Antoni "Pinguy" for the tip!

0 comments

» read more....

Razor-Qt: A New Lightweight Desktop Environment Based On Qt

11:58 PM


Razor Qt is a new lightweight desktop environment - think of it as an early LXDE, but using Qt. It doesn't come with a display manager or window manager and its developers recommend using it with Openbox, but it should work with any WM, like Kwin, Metacity, etc.


The latest version - 0.4 -, brings some important improvements such as (very) basic configuration tools, razor-runner program (a tool for launching applications), a menu as well as some panel plugins such as removable media (for mounting and unmounting removable media), a screensaver/lock screen plugin and a show desktop plugin.

For a full list of changes, check out the Razor Qt website.


Mini review


Razor Qt looks a lot like KDE: it uses your current KDE theme (if KDE is installed) and it even has a plasma-like feature, but it doesn't come with any KDE dependencies and the whole source has a size of only 5.6 MB. While that makes Razor Qt very lightweight, it also means there are missing features, but it's already usable.

For instance, while the desktop supports widgets, there are only 3 widgets available: a clock, icon view and an example plugin; the panel has 9 plugins: clock, desktop switcher, application menu, removable media, quick launch, quick screensaver on/off switcher, show desktop, task manager and system tray.


Since Razor Qt doesn't come with its own applications, you'll have to install some Qt applications yourself. For the file manager you can use QtFM (which I've found to be quite interesting) or Andromeda. For more applications that use "pure" Qt (don't have any KDE dependencies), check out Pinguy's second post in THIS thread.

You can also find an official list of suggested 3rd party applications to get a fully featured Qt desktop, HERE.


If you have KDE installed, you'll notice that Razor Qt will use your KDE theme for the bottom panel, desktop right click menu and some applications. However, for some reason some parts look un-themed, like its menu (when opening it from the panel, not by right clicking on the desktop), at least that was the case in my test under Ubuntu 11.10 Oneiric Ocelot. This was basically the only issue I've encountered with Razor Qt (it was a quick test though) - well, besides some missing features which, however, are expected in a lightweight desktop environment, especially one that's still in its infancy.

How lightweight is Razor Qt? Well, in my test, Razor Qt used about 114MB of RAM on login (using Openbox as the WM, under Ubuntu 11.10) which is almost as lightweight as Lubuntu 11.10 (which used 108 MB of RAM in my test).

Hopefully we'll soon see a Linux distribution running Razor Qt, with all the Qt applications an user needs installed by default. And actually, Pinguy was so impressed with Razor Qt that he says he might create such a distro as a side project. We'll let you know if this happens.


Install Razor Qt


Razor Qt is available in a PPA for Ubuntu Lucid, Maverick, Natty and Oneiric users. Add the PPA and install Razor Qt using the following commands:
sudo add-apt-repository ppa:razor-qt/ppa
sudo apt-get update
sudo apt-get install razorqt

Then log out and then select Razor Desktop (with the desired WM) from the login screen:


For other Linux distributions, see the Razor Qt download page.


via PinguyOS forum; thanks to Antoni "Pinguy" for the tip!

0 comments

» read more....