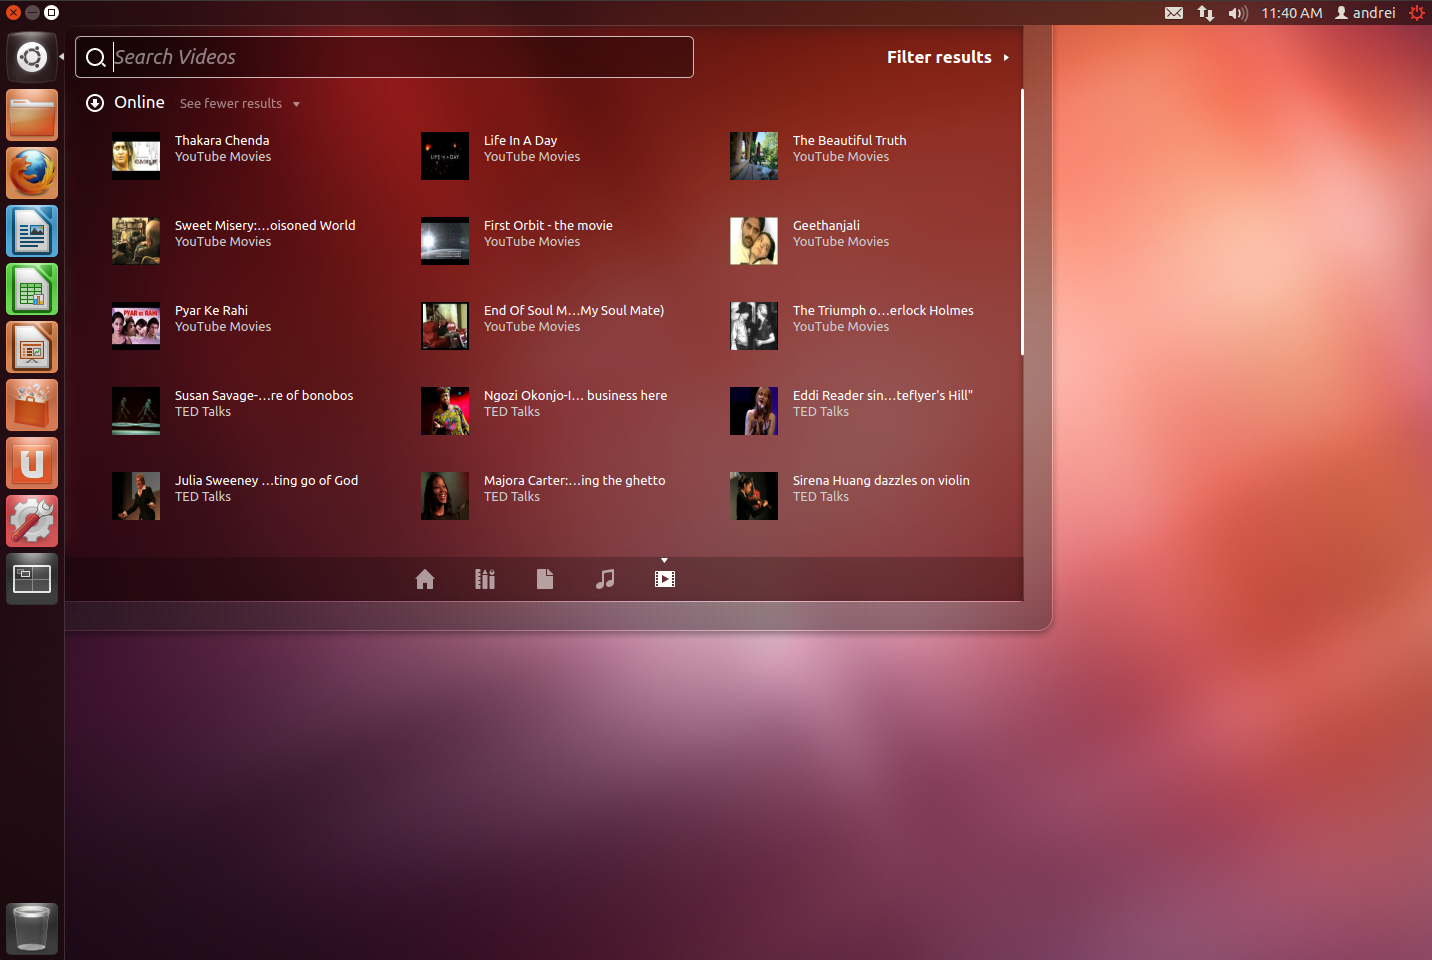
Ubuntu 12.04 LTS Preise Pangolin has been released and many of you have already upgraded or plan on upgrading, so I've made yet another post that you'll hopefully find useful, with things that you may want to tweak, fix or install in Ubuntu 12.04.
Some of the tweaks in this article are old, and we've already talked about it in the previous posts about things to tweak after installing Ubuntu
11.10 or
11.04, but there are also many new things to install and tweak and also, some improved old tweaks.
Unity-specific tweaks
Disable global menu (appmenu), overlay scrollbars, whitelist the systray and more
If you're new to global menus or overlay scrollbars, give them a try for a few days before disabling them.If until now, you had to modify configuration files or run various commands to disable the global menu (appmenu), the overlay scrollbars or whitelist the systray, this time things got a lot easier thanks to some tools such as
Unsettings.
So those of you who don't like the global menu, overlay scrollbars or want to whitelist the systray so applications that use a notification area icon show up on the Unity panel, can use Unsettings to change these settings with a click.
But that's not all Unsettings can do. You can also use it to change the GTK or icon theme, further tweak Unity and more:
- Unity Launcher look: change launcher size, opacity, select when devices show up on the launcher or get a "show desktop" icon
- Launcher behaviour: visibility (always visible or autohide), autohide animation, reveal trigger, edge responsiveness, urgent animation, launch animation, blacklight
- Dash: set Dash size, blur, enable or disable apps available for download and recently used apps, enable / disable search for all files
- Panel: set the opacity, enable / disable opaque if maximized, set the applications available in the systray whitelist and enable / disable the real name, user menu and sound indicator from showing up on the panel
- Change fonts, hinting and antialiasing
- Windows: enable / disable overlay scrollbars, global menu, click to focus, HUD, auto raise (as well as the delay) and change automaximize value
- Desktop: set the number of vertical and horizontal workspaces, show / hide various icons on the desktop like the home, computer, trash or network icon, configure the next monitor pressure (for multi-monitor setups), shortcut hints overlay, ALT + Tab settings
- Change GTK, Window, Icon and cursor themes.

To install Unsettings in Ubuntu, use the following commands in a terminal:
sudo add-apt-repository ppa:diesch/testing
sudo apt-get update
sudo apt-get install unsettings
Unsettings isn't the only such tool, there's also MyUnity and Ubuntu Tweak, each with some common but also some extra features.Tweak Unity 2D
Unsettings and MyUnity are nice for Unity 3D, but they lack proper support for Unity 2D so to easily tweak Unity 2D, you can install Ubuntu Tweak, which lets you enable / disable HUD, set Dash to full screen, change the launcher autohide (this is also available in System Settings, under Appearance) and multi-monitor behaviour.
To install Ubuntu Tweak, use the commands below:
sudo add-apt-repository ppa:tualatrix/ppa
sudo apt-get update
sudo apt-get install ubuntu-tweak
Get Unity Dodge Windows autohide behaviour back and minimize on click
The 'Dodge Windows' / 'Dodge active window' Unity launcher autohide behaviour has been removed from Ubuntu 12.04 Precise Pangolin but you can get it back using a patched Unity. This patched Unity also adds minimize/unminimize on click for the Unity launcher.
To install Unity with these two patches, use the commands below:
sudo apt-add-repository ppa:ikarosdev/unity-revamped
sudo apt-get update
sudo apt-get upgrade
Then log out and log back in.
To go back to Unity without these patches, use the commands below:
sudo apt-get install ppa-purge
sudo ppa-purge ppa:ikarosdev/unity-revamped
More info @
HERE.
Change the Unity 2D launcher icon size
The Unity 3D launcher icon size can easily be changed through System Settings (under Appearance), but that's not available for Unity 2D. But there is a way to change the Unity 2D launcher icon size: through a script.
To change the Unity 2D icon size, run the following commands in a terminal:
cd
wget http://webupd8.googlecode.com/files/script.py
chmod +x script.py
sudo ./script.py SIZE
In the last command above, replace "SIZE" with the desired size for the launcher icons, for example "32" (don't use any quotes). Then log out and log back in to Unity 2D.
Install lenses
Quite a few Unity lenses have been created in the last few months. The lens I find most useful is called Recoll Lens which lets you use Recoll, a full text search tool, from Dash, without having to open any additional GUI.
The lens comes with a few filters like Text, Spreadsheet, Presentation, Media or Message, but for more advanced searches, you'll have to manually enter the Recoll search query. Examples: author:"john doe", metallica OR megadeth, /2007 (all documents from 2007 or older), dir:/path/to/dir (filters content from /path/to/dir directory) and more.
To install Unity Recoll Lens, use the following commands:
sudo add-apt-repository ppa:recoll-backports/recoll-1.15-on
sudo apt-get update
sudo apt-get install recoll-lens recoll
Once installed, log out and log back in.
More info about Unity Recoll Lens.
Another lens that I find really useful is the Utilities Lens which comes with two scopes: Cities and Calculator. The cities scope lets you quickly see the time, weather and wind conditions in a city you search for in Dash and, as expected, the calculator scope lets you quickly perform mathematic operations:
To install the Utilities Lens along with Cities and Calculator scopes, use the commands below:
sudo add-apt-repository ppa:scopes-packagers/ppa
sudo apt-get update
sudo apt-get install unity-lens-utilities unity-scope-calculator unity-scope-cities
Once installed, log out and log back in.
These are just the lenses I find most useful, but there are many others, like torrent search lens, Grooveshark or Spotify lens (available in the same PPA as the Cities and Calculator scopes) and more. See
here for more lenses and also search for new lenses and scopes in the Ubuntu Software Center.
Install extra appindicators
AppIndicators are applications that come with an indicator displayed on the top Unity panel (or on the Classic GNOME panel).
Weather Indicator displays the weather on the panel, from one or multiple locations around the world. You can configure it to display notifications and more.
To install Weather Indicator, search for it in Ubuntu Software Center or use the command below:
sudo apt-get install indicator-weather
Alternative:
My Weather Indicator.
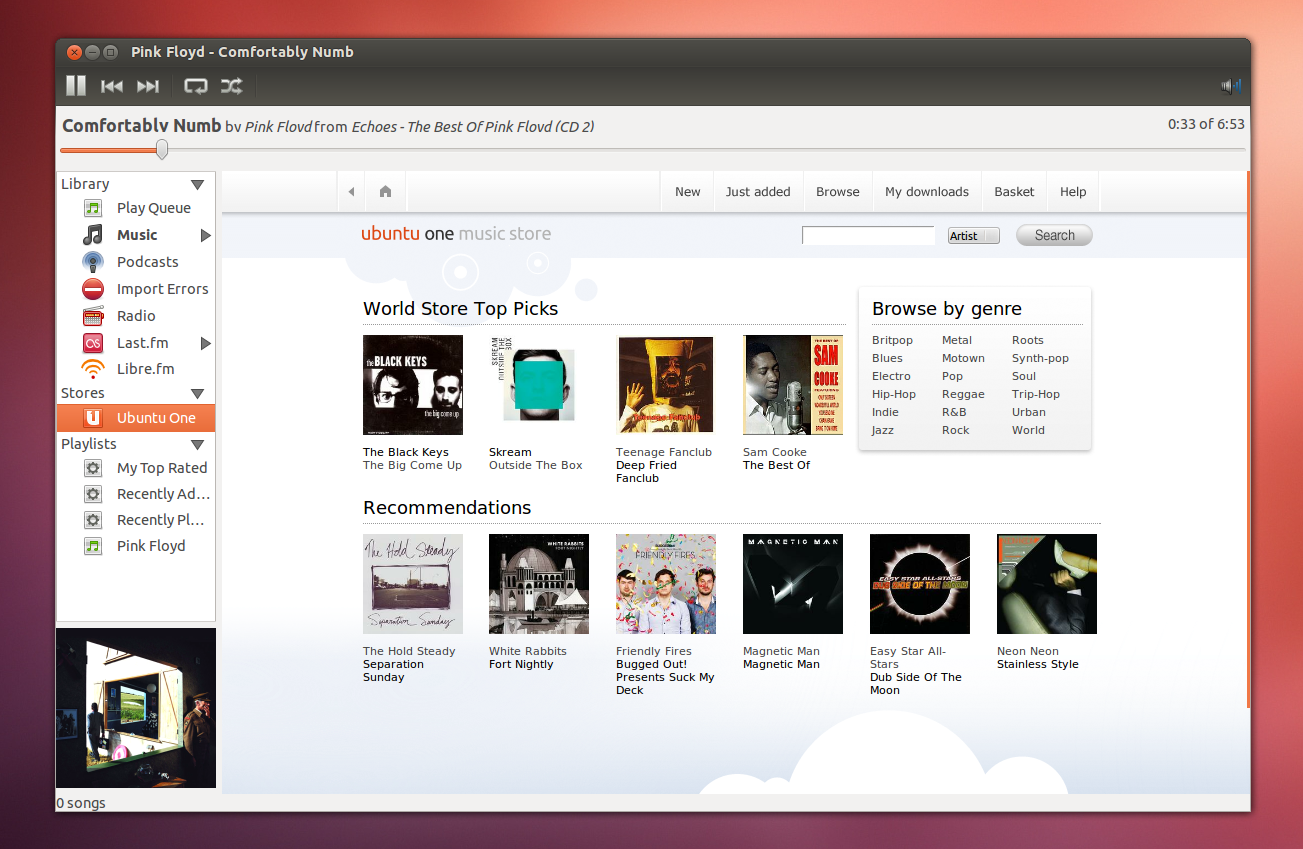
If you use Ubuntu One, you'll find Ubuntu One Indicator very useful as it displays the sync status including the upload speed, recently published files for which you can copy the public links, disconnect Ubuntu One and more:
To install Ubuntu One indicator, use the commands below:
sudo add-apt-repository ppa:rye/ubuntuone-extras
sudo apt-get update
sudo apt-get install indicator-ubuntuone
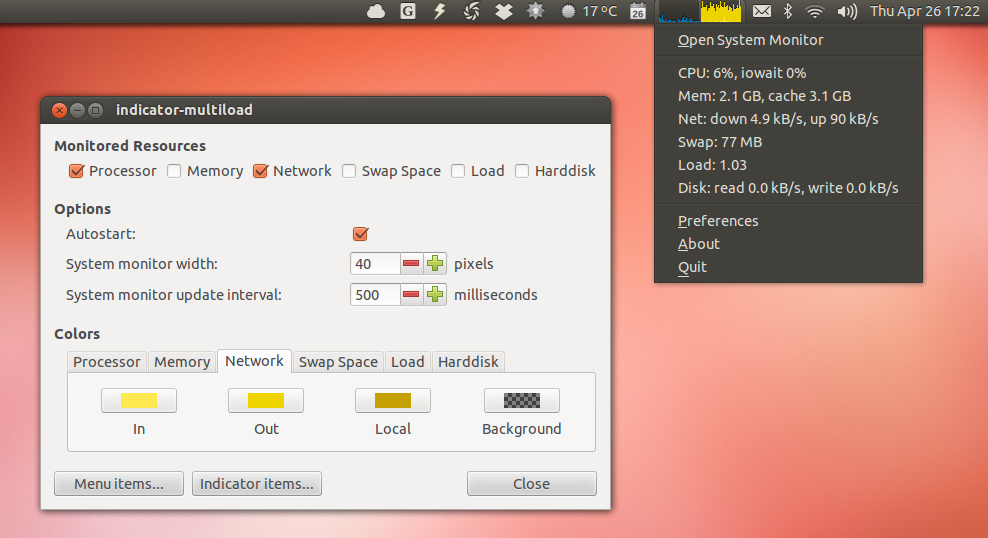
Another feature that users who have upgraded from Ubuntu 10.04 might be missing in Ubuntu 12.04 is a system monitor panel applet. The Unity panel doesn't support applets, but you can use an indicator for this. System Load Indicator displays CPU, Memory, Network, Swap, Disk io and system load on the panel, just like the old system monitor applet:
Install System Load Indicator in Ubuntu 12.04 LTS using the commands below:
sudo add-apt-repository ppa:indicator-multiload/stable-daily
sudo apt-get update
sudo apt-get install indicator-multiload
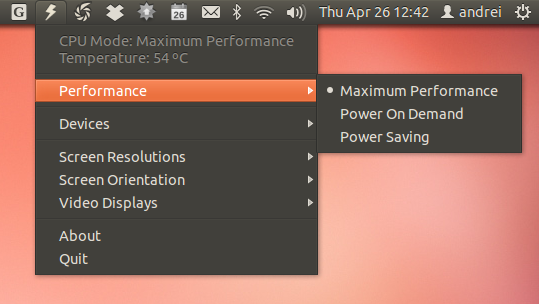
Get longer battery life with JupiterJupiter is an appindicator (it now uses Python instead of Mono) designed to improve laptops / netbooks battery life. It can be used to switch between maximum, high performance and power saving modes, change the screen resolution and orientation, enable or disable bluetooth, touchpad, WiFi (if available) and so on. If you own an Asus EeePC netbook, there's also a separate package that adds support for Asus Super Hybrid Engine (SHE) as well as some other EeePC tweaks.
Install Jupiter using the following commands:
sudo add-apt-repository ppa:webupd8team/jupiter
sudo apt-get update
sudo apt-get install jupiter
If you're upgrading from Ubuntu 10.04 LTS and you miss the old behaviour of integrating Google Calendar with the calendar applet through Evolution, you can use an alternative:
Calendar Indicator, a tool to display your Google Calendar events on the Ubuntu / Unity panel. Install it in Ubuntu 12.04 Precise Pangolin using the commands below:
sudo add-apt-repository ppa:atareao/atareao
sudo apt-get update
sudo apt-get install calendar-indicator
Privacy: prevent some files, directories or applications activity from showing up in Dash
Zeitgeist displays your most used and recently used files and applications in Dash, which is something many of you might not want. But starting with Ubuntu 12.04, Activity Log Manager has been integrated into System Settings so you can blacklist certain file types, folders or applications from showing up in Dash. You can also use it to clear the Zeitgeist history for a period of time or completely.
To access Activity Log Manager, open System Settings and click on "Privacy". On the "Recent items" tab you can clear the Zeitgeist history or disable it completely. For more control, check out the other tabs: on the Files tab, you can blacklist some directories or file types and on the Applications tab you can blacklist some applications that you don't want to show up in Dash.
Get a global menu (appmenu) for LibreOffice (and get HUD to work with it)
Just like in the previous releases, LibreOffice doesn't use a global menu by default in Ubuntu 12.04 Precise Pangolin, but you can get it to make use of the global menu by installing the "lo-menubar" package:
sudo apt-get install lo-menubar
This doesn't just add global menu support for LibreOffice,
but it also makes HUD, the new smart menu which can be accessed by tapping the ALT key,
work with LibreOffice.
Create your own quicklists
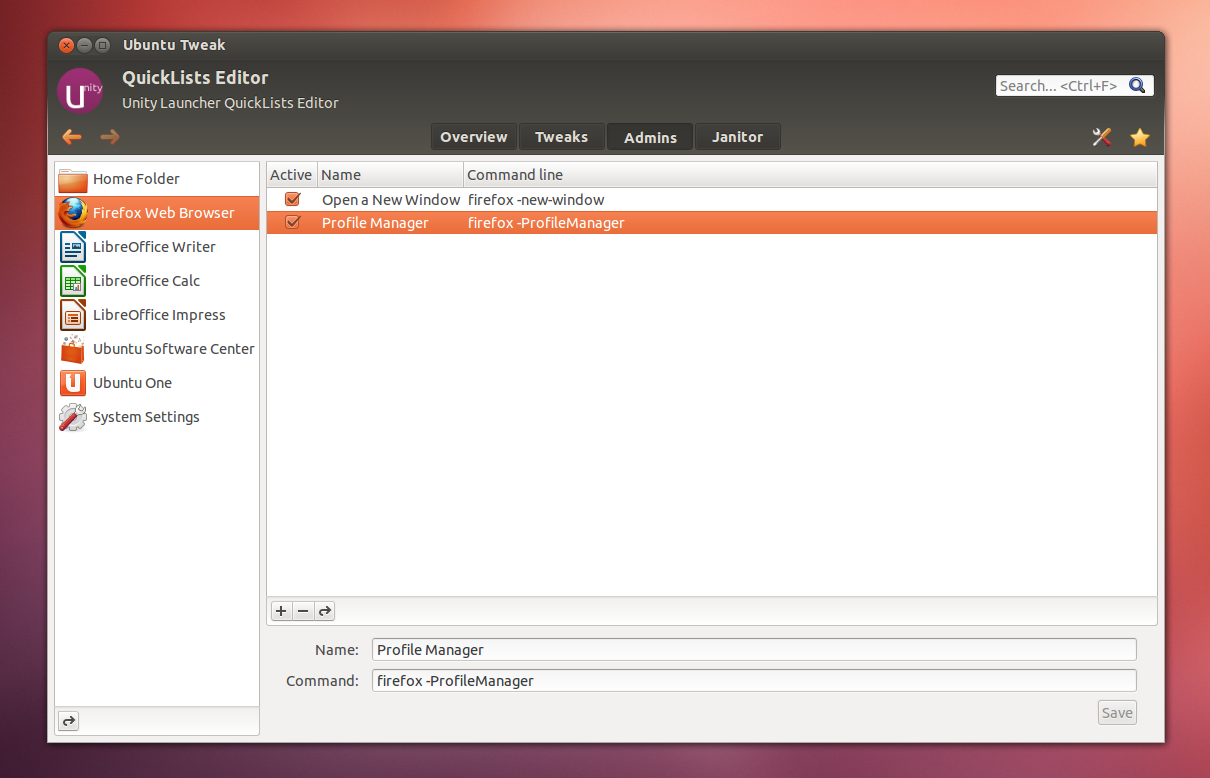
Quicklists are menu items that show up when right clicking an icon from the Unity launcher. In Ubuntu 12.04, many applications now have quicklists but there are of course some without this useful addition so if you want, you can create your own quicklists, easily, using either Ubuntu Tweak or MyUnity.
To install the latet Ubuntu Tweak 0.7.0 which lets you edit quicklists, use the commands below:
sudo add-apt-repository ppa:tualatrix/ppa
sudo apt-get update
sudo apt-get install ubuntu-tweak
Or, use MyUnity instead:
sudo apt-get install myunity
After you've installed either MyUnity or Ubuntu Tweak, pin an application to the launcher and you can edit its quicklists like this:
- in Ubuntu Tweak, under Admins > Quicklists Editor
- in MyUnity, click on the "launcher" tab, and right under the launcher text there should be a link called "quicklists".
General tweaks (for any "shell")
Get hibernate back
Hibernate has been disabled by default in Ubuntu 12.04. You can use 'suspend' instead, but if you want hibernate back, there is a way to do it.
But firstly, what's the difference between hibernate and suspend? When using suspend, the computer disconnects everything everything except for RAM so it's still using a bit of power. Hibernate on the other hand saves everything to the hard disk, so the computer doesn't need any power, which is important for laptops and netbooks.
Before enabling hibernate, test to see if your computer supports it. To do this, open a terminal and copy/paste the following command:
sudo pm-hibernate
Your computer should switch off - turn it back on and all the applications you had open should reopen if hibernate works for your computer.
If the above test worked, you can enable hibernate in the Ubuntu power menu by running the following command in a terminal:
gksu gedit /etc/polkit-1/localauthority/50-local.d/com.ubuntu.enable-hibernate.pkla
And in the newly opened file, add the following:
[Re-enable hibernate by default]
Identity=unix-user:*
Action=org.freedesktop.upower.hibernate
ResultActive=yes
Then save the file.
After logging out and logging back in, "Hibernate" should show up in the power menu.
How to get a working screensaver in Ubuntu
Just like the previous Ubuntu release, the latest Ubuntu 12.04 doesn't have a screensaver by default and it uses a blank screen instead (this is actually an upstream GNOME decision). But if you really want a screensaver, you can use Xscreensaver, like we wrote about in the
things to fix / tweak post for Ubuntu 11.10:
sudo apt-get remove gnome-screensaver
sudo apt-get install xscreensaver xscreensaver-gl-extra xscreensaver-data-extra
Then search for "Screensaver" in the menu and tweak its settings to your needs.
To add Xscreensaver to startup, open Startup Applications and add "xscreensaver -nosplash".
To get CTRL + ALT + L to lock the screen and start the screensaver, go to System Settings > Keyboard and on the "Shortcuts" tab, under "System", change the "Lock screen" keyboard shortcut from CTRL + ALT + L to something else, then under "Custom Shortcuts", click the "+" button to add a new custom shortcut, under "Name" enter "Xscreensaver" and under "Command" enter "/usr/bin/xscreensaver-command", then click "Apply".
And finally, click next to the newly created shortcut and press CTRL + ALT + L to assign it to it (or use any other keyboard shortcut you want, but make sure it's not already assign to something else). Alternatively, you can run the following command instead of assigning a new keyboard shortcut for the old screensaver:
sudo ln -s /usr/bin/xscreensaver-command /usr/bin/gnome-screensaver-command
To revert the changes (go back to the black GNOME Screensaver screen), use the commands below:
sudo apt-get remove xscreensaver xscreensaver-gl-extra xscreensaver-data-extra
sudo rm /usr/bin/gnome-screensaver-command
sudo apt-get install gnome-screensaver
If you've used the alternative method to assign CTRL + ALT + L to Xscreensaver lock screen, open System Settings > Keyboard again, remove the custom Xscreensaver command and assign CTRL + ALT + L back to "Lock screen" (under "System").
To get Xscreensaver not to start automatically when watching a movie, I recommend using Caffeine, a small indicator applet which you can install using the commands below:
sudo add-apt-repository ppa:caffeine-developers/ppa
sudo apt-get update
sudo apt-get install caffeine python-glade2
Make all autostart items show up in Startup Applications dialog
Some autostart items don't show up in the Startup Applications dialog. To get all of them to show up, use the following command:
sudo sed -i 's/NoDisplay=true/NoDisplay=false/g' /etc/xdg/autostart/*.desktop
Install Oracle Java 7
For most stuff, OpenJDK/JRE is enough (and you can install it using Ubuntu Software Center), but in case you really need
Oracle (previously Sun) Java 7, you can install it (this will install JDK/JRE and the browser plugin) in Ubuntu using the WebUpd8 Java PPA:
sudo add-apt-repository ppa:webupd8team/java
sudo apt-get update
sudo apt-get install oracle-java7-installer
In case the installation doesn't work (it sometimes fails when behind a proxy), you can try to
manually install Oracle Java 7.
Get Synaptic and Gdebi back
Users upgrading from Ubuntu 10.04 LTS to 12.04 LTS will probably find it a bit awkward at first to see that Ubuntu Software Center is now used to install deb files by default and not Gdebi. But if you can't get used to using Ubuntu Software Center for this, you can easily get Gdebi back and set it default for installing deb files. Install Gdebi using the following command:
sudo apt-get install gdebi
If you want to make Gdebi default, right click a .deb file, select "Properties", go to the "Open With" tab and select "GDebi Package Installer" instead of "Ubuntu Software Center". Click "Close" and double click the .deb file - it should now open with GDebi and not Ubuntu Software Center.
Synaptic has also been removed a while back so if you want to install it, simply copy/paste the following command in a terminal:
sudo apt-get install synaptic
Automatically enable working PPAs from previous Ubuntu releases
When you upgrade to a new Ubuntu version, all the PPAs are disabled. The "Re-enable working PPAs feature checks if the old PPAs have been updated to work with your current Ubuntu version and if they do work, it re-enables them.
If you've just upgraded from Ubuntu 11.10 or 10.04 and want to re-enable the PPAs that work with Ubuntu 12.04, you can use Y PPA Manager to do this automatically. Make sure your Internet connection is working, then in Y PPA Manager select Advanced > Re-enable working PPAs after Ubuntu upgrade" and all the PPAs that have packages for Ubuntu 12.04 will be enabled automatically, leaving the others disabled.
If you want to do a clean Ubuntu 12.04 install, you can make a backup for the PPAs you had on your previous Ubuntu installation using Y PPA Manager, then restore the backup using Y PPA Manager on Ubuntu 12.04 and update the release name in those PPAs that work with Ubuntu 12.04 (so if a PPA has packages for Ubuntu 12.04, it will be updated to use "precise" in the .list file instead of the previous version). To do this, in Y PPA Manager select Advanced > Update release name in working PPAs.
Before any of the above tasks, make sure you make a backup using Y PPA Manager or manually.
To install Y PPA Manager in Ubuntu 12.04 LTS Precise Pangolin, use the commands below:
sudo add-apt-repository ppa:webupd8team/y-ppa-manager
sudo apt-get update
sudo apt-get install y-ppa-manager
Dropbox
And a small extra tip: If you try to install Dropbox and you get this error:
Error: Dependency is not satisfiable: libnautilus-extension1 (>= 1:2.22.2)
It's because you're trying to install the Dropbox .deb downloaded from the official Dropbox website, and it currently can't be installed in Ubuntu 12.04. But you can simply install Dropbox by searching for it in Ubuntu Software Center / Synaptic - that package should install without any issues.
Unity alternatives
If you don't like Unity (either the default Unity which uses Compiz or Unity 2D), you have many alternatives available, while continuing to use GNOME. I will only talk about official alternatives which are available in the Ubuntu repositories, but in case you don't like them, there's also
Cinnamon, a GNOME Shell fork that uses a GNOME2-like layout and
Mate, or you can use a different Ubuntu flavor like
Xubuntu,
Lubuntu or
Kubuntu.
Classic GNOME session - looks almost the same as GNOME 2
If you prefer the old GNOME 2 layout, you can install the classic (also known as fallback) GNOME session in Ubuntu 12.04 - you'll get almost the same look as in GNOME 2: Ubuntu AppIndicators and the default indicators (Messaging Menu, Sound Menu and so on), Compiz and panel applets.
The theme needs some fixes (the panel has a few visual glitches) for the classic GNOME session and they will probably come with a later Ubuntu 12.04 update. Here's how the Classic GNOME session looks like in Ubuntu 12.04:
To install the Classic GNOME Session, use the following command in a terminal:
sudo apt-get install gnome-session-fallback
Once installed, log out and select "GNOME Classic" from the login screen:
Note: to be able to access the GNOME panel settings or add applets, you need to hold the ALT key and right click the panel instead of simply right clicking it, as it used to be in GNOME 2.
GNOME Shell
The latest GNOME Shell 3.4.1 is available in the official Ubuntu 12.04 LTS Precise Pangolin repositories, even though it was initially announced that the latest version won't make it into Precise. So to install it, simply search for GNOME Shell in Ubuntu Software Center or use the following command:
sudo apt-get install gnome-shell
And then select "GNOME" from the login screen.
GNOME Shell has a tweaking tool so if you want to change some of its configuration options or the theme, install GNOME Tweak Tool:
sudo apt-get install gnome-tweak-tool
To be able to change the GNOME Shell theme (not GTK/window theme), you'll also need the GNOME Shell User Theme extension. You can install it, along with all the official GNOME Shell extensions by using the WebUpd8 GNOME 3 PPA:
sudo add-apt-repository ppa:webupd8team/gnome3
sudo apt-get update
sudo apt-get install gnome-shell-extensions
Then restart GNOME Shell (ALT + F2 and enter "r" or log out and log back in) and use GNOME Tweak Tool to activate the extensions you want to use.
These aren't the only GNOME Shell extensions available in the WebUpd8 GNOME 3 PPA - many other unofficial extensions can be installed easily through our PPA. See the following posts for details:
And of course, there's also the
GNOME Shell extensions website which offers a huge list of extensions that you can install with a click. Note: you need to use GNOME Shell to be able to see the available extensions and install them.
This post is still work in progress and more tweaks and tips will be added later on, so make sure you keep an eye on it. Oh, and if you have a suggestion for something that you think should belong here, lets us know in the comments!
» read more....